ARCHITECTURAL DESIGN SERIES
Simple Digital Rendering Techniques
Learn how to quickly render an interior design using textures and objects with Architect Osama Elfar.
Read below for additional insights by Osama Elfar along with tutorial details, tips and brush settings from the video.

Interview
Where do you find your transparent PNG objects, landscapes and materials?
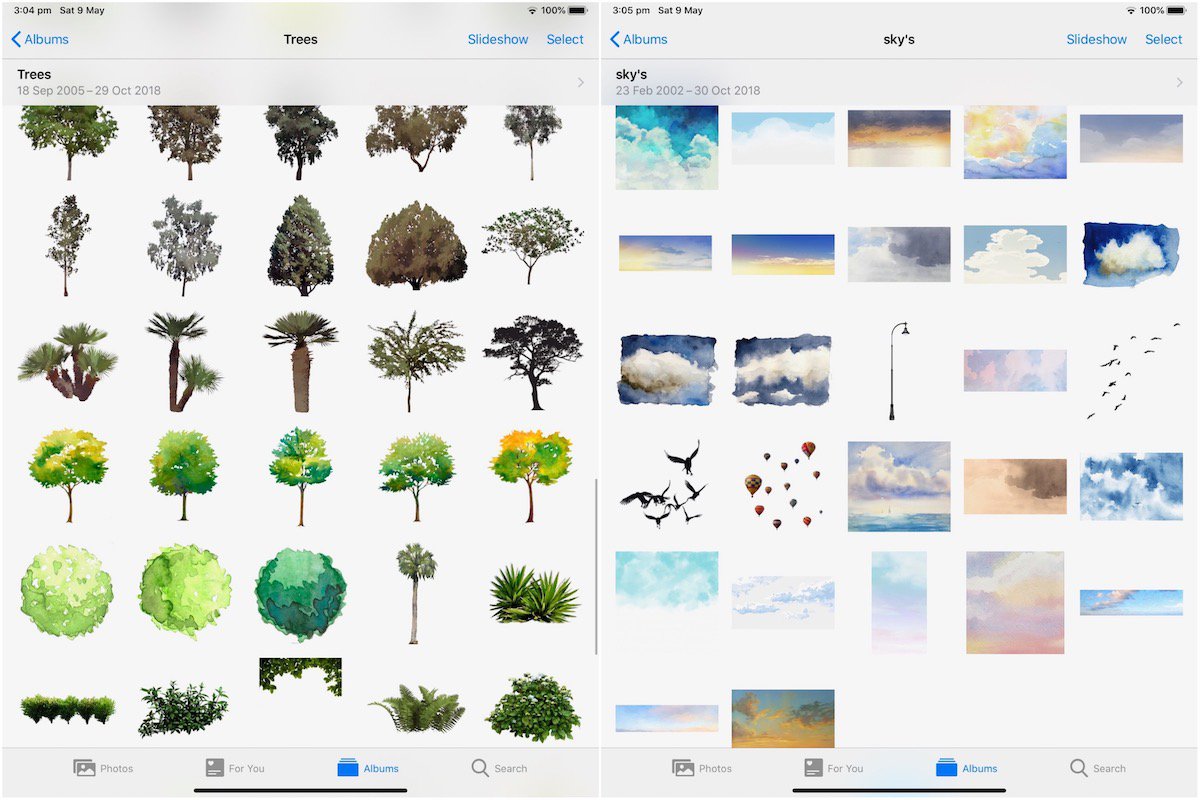
Usually I find material images from stock photo sites and purchase them. Sometimes material suppliers will provide us designers with physical samples and high resolution photos of their materials to use in presentations with clients. For some images, I will use Photoshop to remove the background, then save it in a PNG format; Concepts also has the option for this, simply use a masking tool to crop the image, then export it as a transparent PNG. (Read how to create a transparent PNG object in Concepts here.)
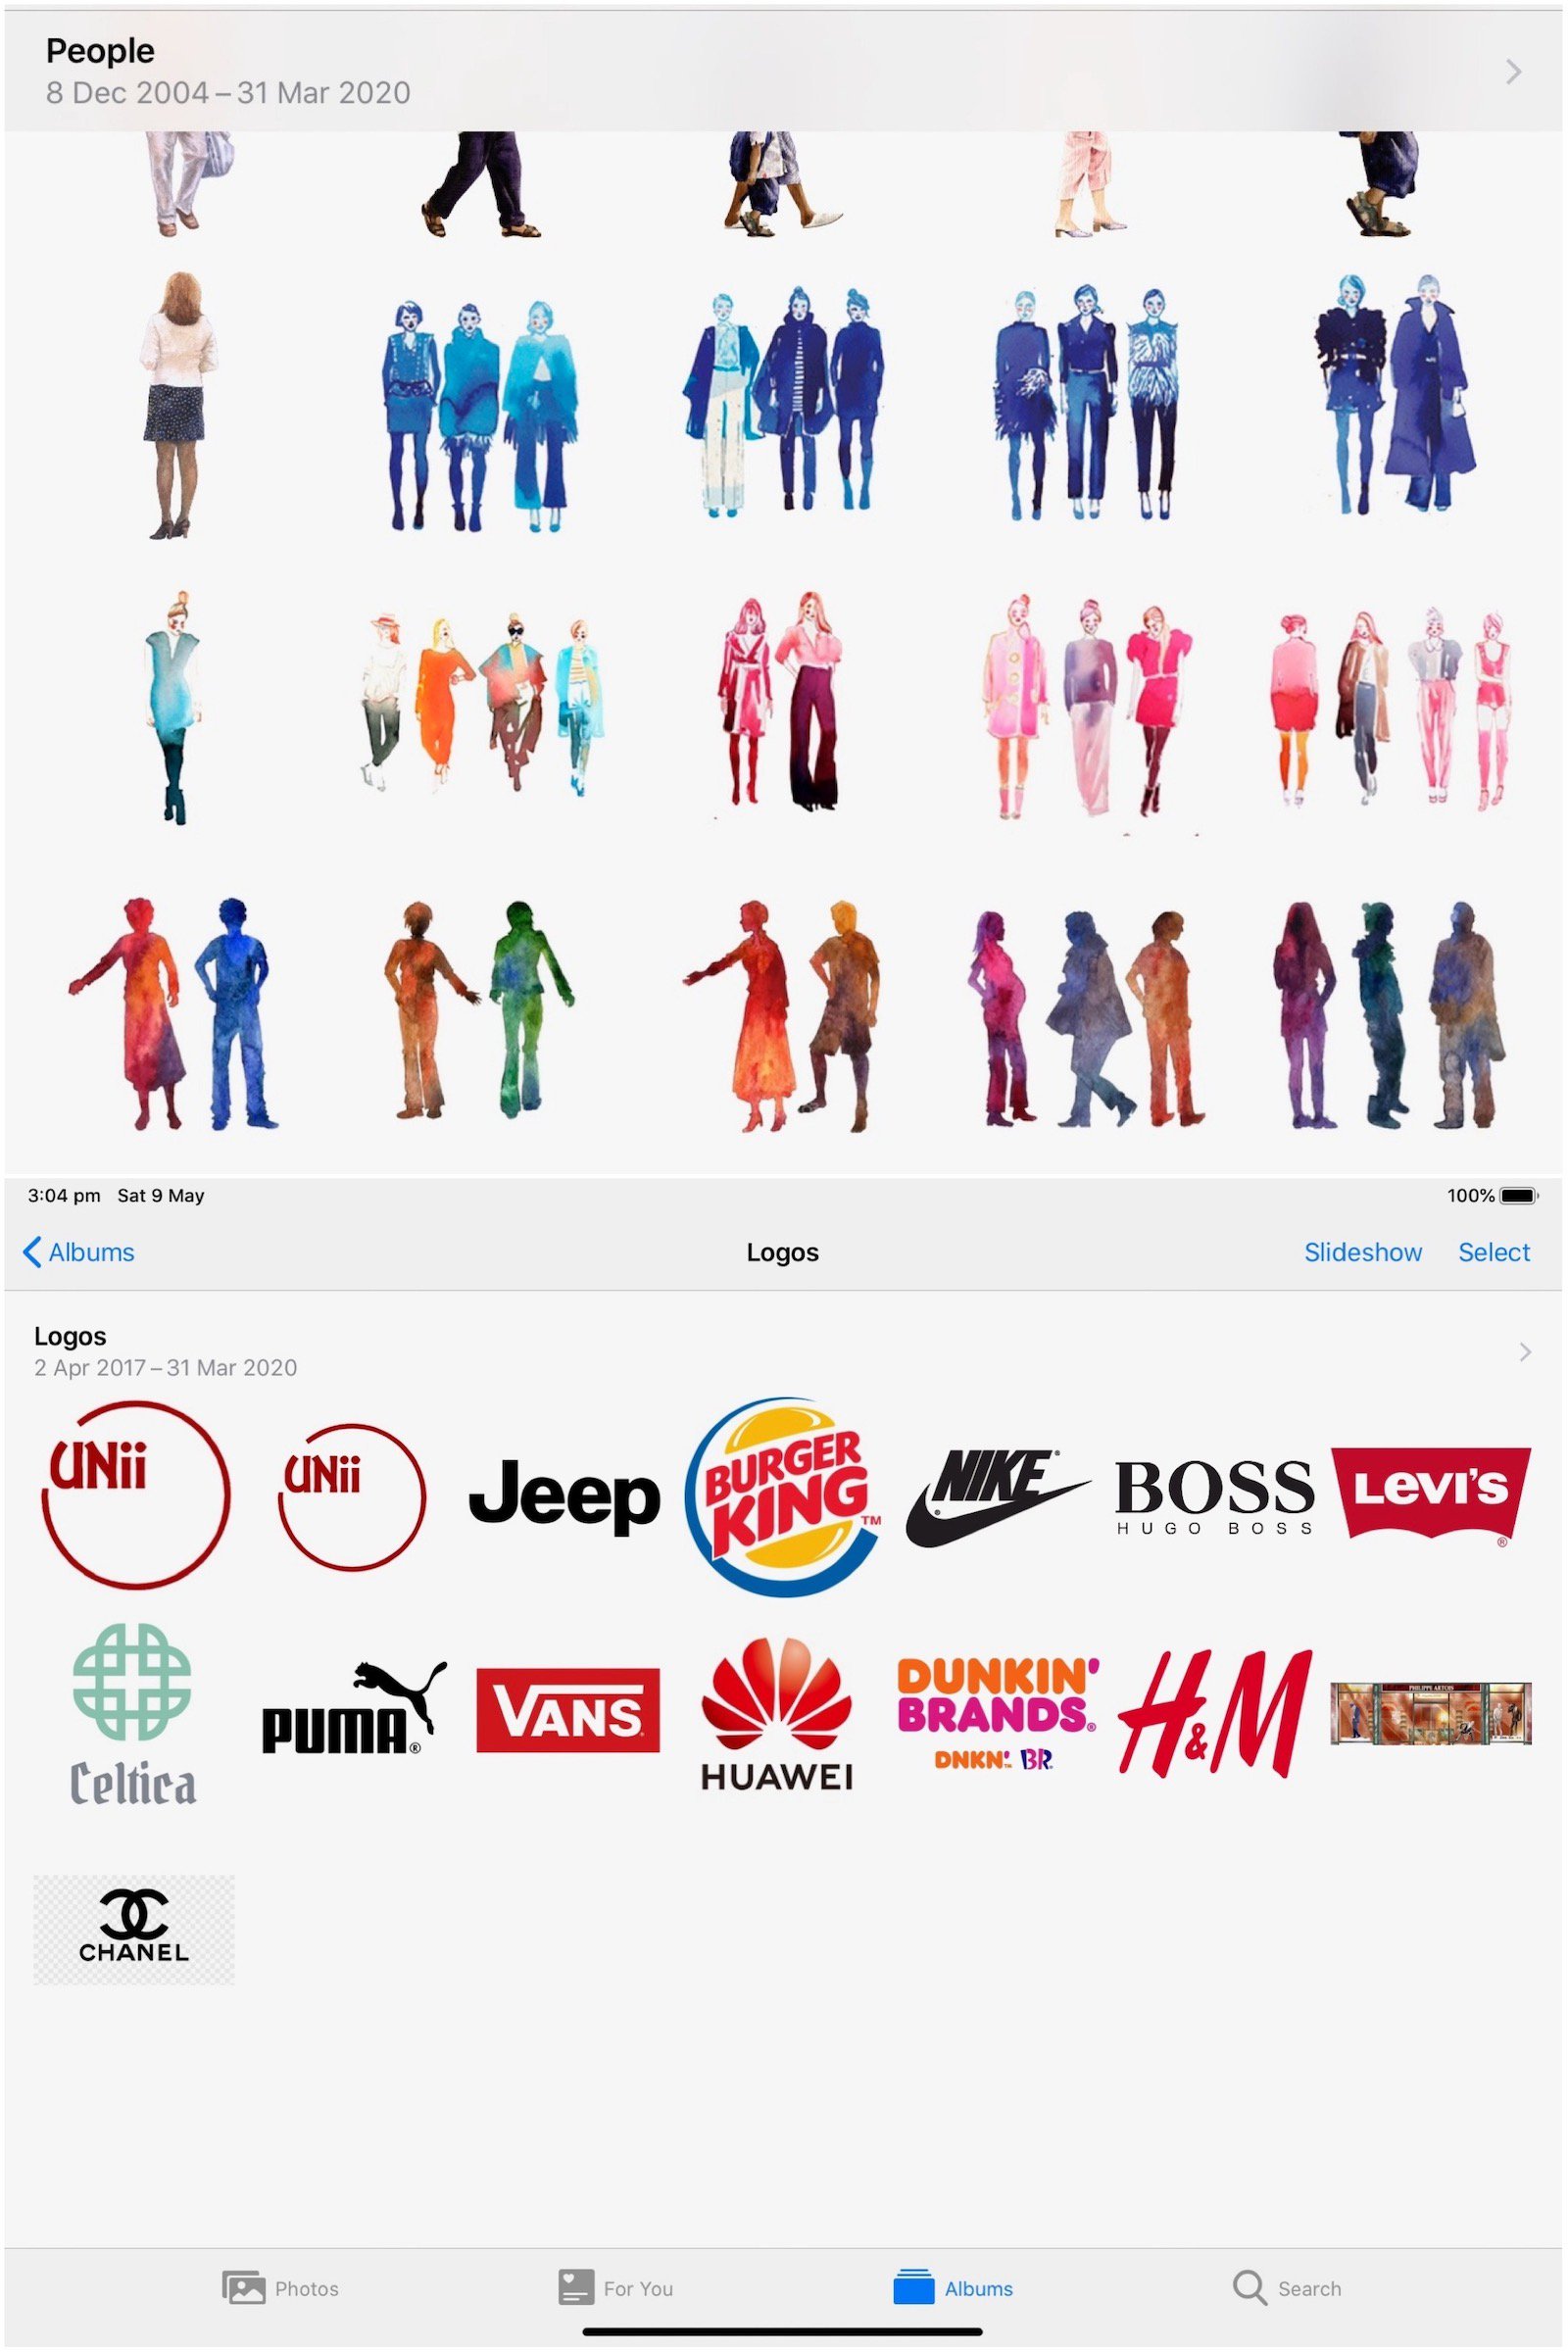
I believe using transparent PNG files in Concepts adds great value to my design workflow. It has saved me time, especially during flights, allowing me to create full presentations for my designs while I travel. It has taken me a long time to create my own library; it's now almost complete. My library has photos of the sky, people, materials, logos and backgrounds I can use at any time.


Video Details
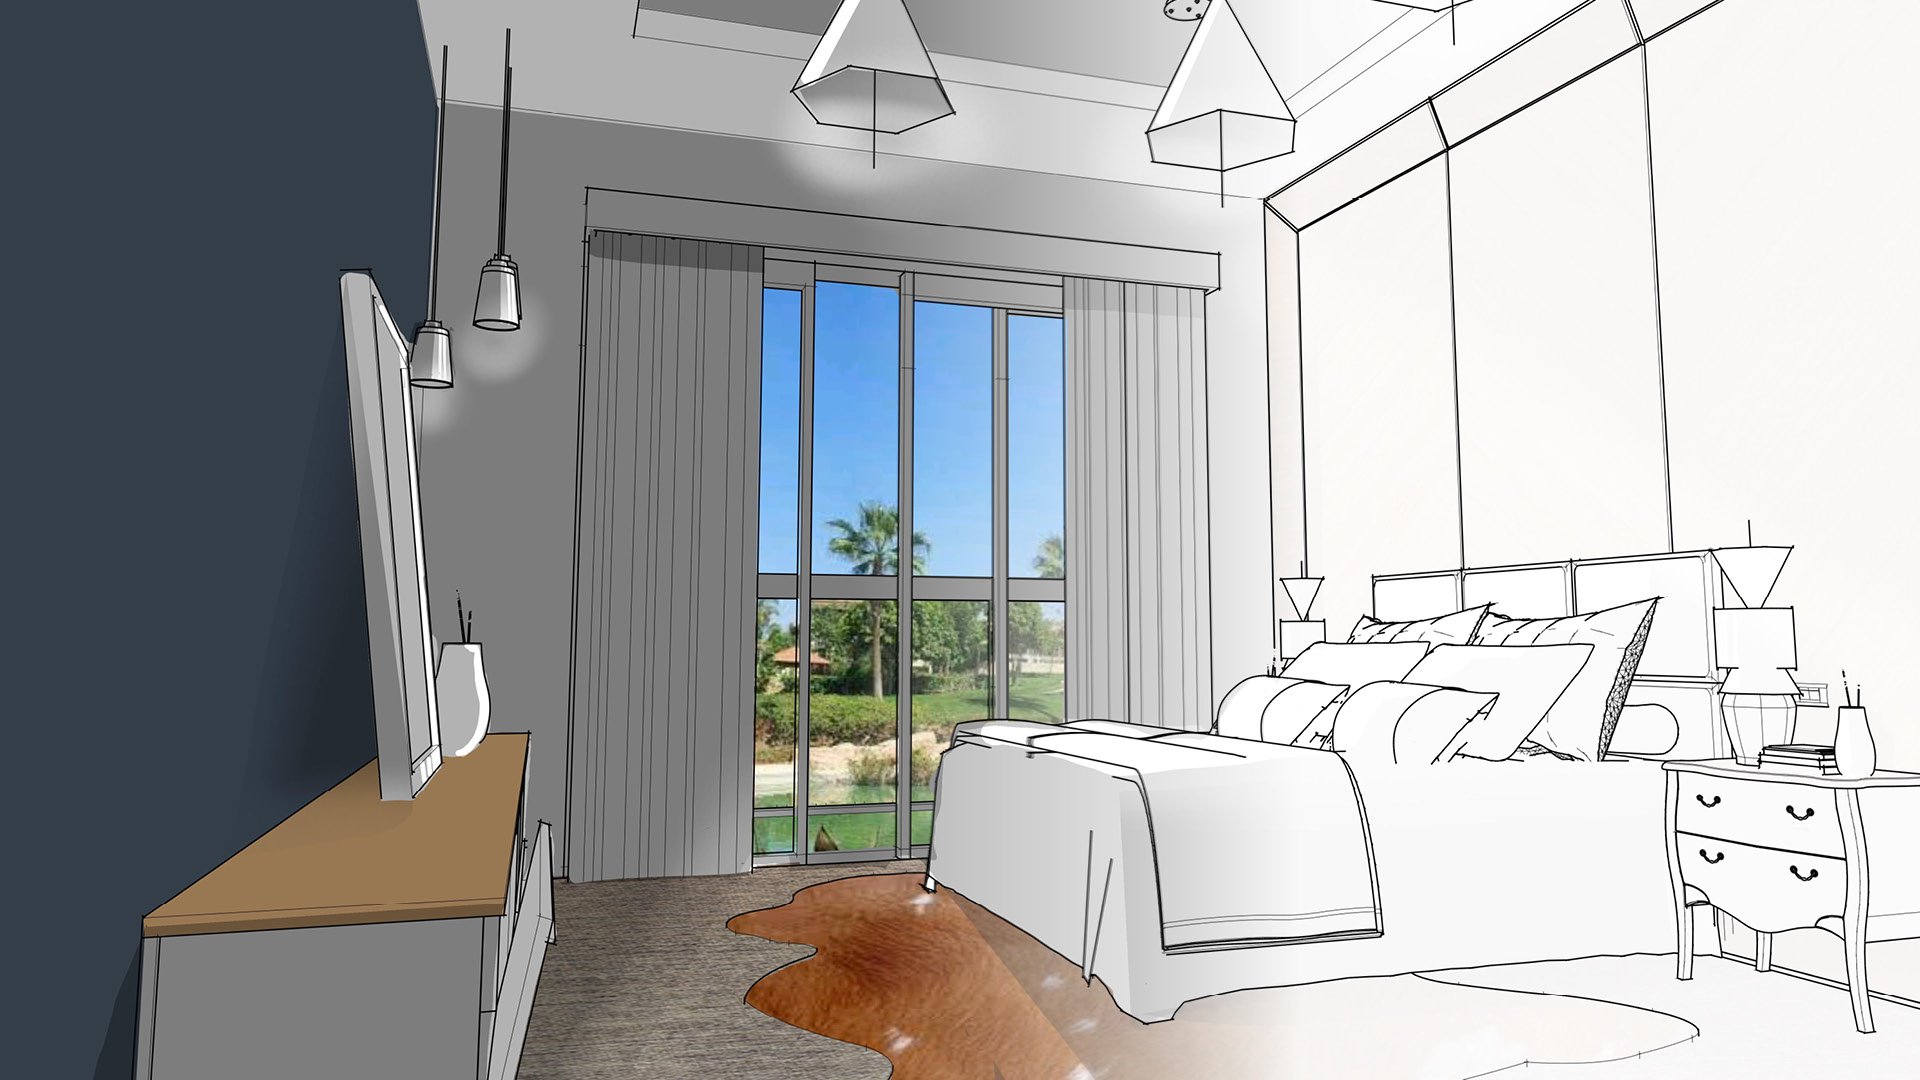
In this video, we will use a combination of imported photos and brushes to render an interior design sketch. The sketch in this video was created in SketchUp, a popular 3D modeling app used by architects, but it is possible to create a similar interior sketch entirely in Concepts using the methods shown in the previous video, From Floor Plan to Axonometric View.
The flexibility of using PDF files along with real material photos makes it very easy and quick to create a full render in Concepts. Concepts' abilities to turn a traditional PDF into a transparent PDF, to import objects with transparent backgrounds, and to easily skew images with the control points make it simple to render any design.
For this tutorial, we will primarily use images to render the design sketch. To build your own image library of transparent PNGs, collect photos and save them in your image library, Files, or objects library in Concepts as described above in Osama's interview. Learn how to create a transparent PNG in Concepts. Learn how to make your own objects.
Importing the Sketch
1. Once you complete your desired interior design, rotate the image to your desired angle and select PDF as your file format.
2. As you import the PDF into Concepts, tap the alpha iconon the left end of the Selection menu. This imports the PDF with a transparent background instead of a white background. Only the wireframe of your sketch will show, allowing you to add materials and color below the line work.
3. Open the Layers menu. Make sure your imported image layer remains at the top of your layer stack. For this tutorial, select Manual mode for your layer sorting.
Rendering the Sketch
1. Import a wood, metal or other texture photo from your photo library or browser.
2. To create a fill of a material large enough to fill your space with realistic proportions, duplicate the image, then mirror it to match up the image tone. Repeat the step to create a large fill for your area.
3. For later use, select the fill and duplicate it, and drag the duplicate to a new layer above the current layer. Hide the layer while you continue work on the current layer.
4. A great way to keep materials or objects on hand is to add a copy to a separate "Textures" layer, then hide the layer while you work on the main image.
5. To fill the bed's headboard, rotate the fill image to frame the area. As the sketch wireframe remains the top layer, you can see both the sketch and the material beneath it. Use the Hard Mask tool to mask the image outside the boundaries of the headboard.
6. If necessary, you can lower the image opacity while you work. Tap on the layer thumbnail to display the layer menu and use the opacity slider.
7. For a reverse grain mid-headboard, use the other layer with the second texture to cover the middle part of the headboard, and rotate or mirror it to reverse the grain. Use the Hard Mask with 100% smoothing to mask the straight edges. If you are using a stylus with pressure sensitivity, try turning it off while you erase (under Settings > Stylus) or use your finger.
8. Import a complementing material image for the surrounding frame on the headboard and repeat the same step to apply it. Use the control points to skew the material to an angle that matches the sketch.
9. Use the same process to apply a flooring material to your sketch. Apply a different material such as cowhide or shag to fill in the rug area beneath the bed.
10. Control the mask smoothness and size to suit your needs. You can also zoom in and out on hte drawing while you work - the mask will retain its size regardless of zoom levels, so zooming in will give you a smaller relative coverage to your canvas area.
11. Take an attractive photo of an outdoor space and use it as the view outside your glass doors or any windows in the room.
12. Some of the empty areas such as walls and ceiling can be covered simply using the Filled Stroke tool. Use the Nudge tool to nudge uneven fills and corners into place. Smaller sizing with Nudge gives you finer control over the movement.
Applying a Drop Shadow Gradient
For an easy way to apply a lighting gradient to your piece, create a drop shadow over your drawing, then use the Hard and Soft Masks to reveal your lighting.
1. Open the Precision menu and activate the rectangular shape guide. This will give you clean edges for your gradient. You can also use the basic shape objects for this. Place the frame over your entire image, and with a low opacity fill, trace the guide.
2. In the same way, darken the front wall to bring out the light source coming through the glass doors.
3. Use the Hard Mask to outline the light coming through the glass door.
4. Create shadows on the opposing side of the light source to add realism to the room. You can use pencil lines in a separate layer as a guide to add further shadows, then remove them when you're finished.
5. For circular objects in your sketch like lampshades and ceramics, apply multiple think lines of mask around the surface to simulate a curve. Vary the opacity of your mask. Use a lower opacity for general light, use a higher opacity for a brighter edge.
6. Having some areas darker than others according to your angles of light will help the scene to appear more realistic.
7. Use the Soft Mask to blend each of your shadows into the light. Use it at a large setting for the outer edges of the drawing.
8. Add in your remaining shadow details on the ceiling with the Filled Stroke tool, then use the Hard Mask to reveal the light sources. Use the Hard Mask at 100% smoothing along the raised ceiling for a straight edge across your fill. Then use the Soft Mask to apply a glow to your lighting.
Brush Settings
Tip: Use the Hard Mask with 100% smoothing to mask the straight edges. If you are using a stylus with pressure sensitivity, try turning it off while you erase (under Settings > Stylus), or just use your finger. The masking stroke will remain a fixed width. This is particularly useful when masking with the Line Guide or other Shape Guides.
1:50 - Hard Mask, 100% Opacity
7:25 - Filled Stroke, 100% Opacity
8:14 - Nudge
8:28 - Filled Stroke, Black, ~130% Opacity, drop shadows
9:12 - Hard Mask, 100% Opacity
10:10 - Soft Pencil, 100% Opacity
10:26 - Hard Mask, 100% Opacity, thicker and thinner widths
12:36 - Soft Mask, 100% Opacity
12:50 - Hard Mask, 100% Opacity, 100% Smoothing
13:53 - Soft Mask, 100% Opacity

Architect Osama Ahmad Elfar graduated from Alexandria University in 1992. He is a Partner at UNii Engineering Consultancy with offices in UAE, Qatar and Egypt. He has won several recognized design competitions. His work spans across many different building areas including high rise, mixed use, residential, commercial and hospitality. He has projects located in several countries including UAE, Qatar, Egypt, KSA, USA, Switzerland, Belgium, Oman, Libya and Japan. He also does design training, teaches courses and speaks at events.
Follow Osama on YouTube, Instagram and Facebook. Find more of his work at www.uniidesign.com and www.osamaelfar.com.
Content created by Osama Elfar
Edited by Lasse Pekkala
Text by Erica Christensen
Recommended
3 Ways to Draw a Straight Line
How to Clean Up a PDF or Image on Your iPad
Using Layers to Take Notes, Illustrate and Design